
I'm one of those that really likes their lip balms. I've purchased many brands in the stores and I can honestly say that I haven't found many that I like. The only ones that I like are the ones that are made with more natural ingredients such as beeswax and cocoa butter among other various oils. It's the texture and consistency as well as how it feels on the lips that I am fussy about.
First off lets start with a basic recipe. This is one that I have found to like, but enter in your own specific oils depending on what you have or what you want to use based on research you have done for each of the oils. Any ingredient that you use make sure it is safe to use in lip balm.
The two necessary ingredients are beeswax and cocoa butter, the rest of it can be interchanged to some degree. However I would suggest not using so many different oils that your trying to weigh out very small weights.
To convert your recipe from percents to actual weights you can use this calculator.
http://www.wholesalesuppliesplus.com/Calculators/Batch_Size_Calculator.aspx
29% Beeswax
29% Cocoa Butter
20% Solid Oil or Butter of Choice
19% Liquid Oil of Choice
3% Flavoring Oil or Edible Essential Oil
The total above is 100% but if you want to use a sweetener I highly recommend this particular one from Elements Bath and Body. I've been using this one for several years. Use it at the same rate as your flavoring oil, and yes I know your total will be 103% on paper, but it does work very well.
http://www.elementsbathandbody.com/Lip-Smacking-Sweetener-Oil-pr-839.html
There are many companies that sell flavoring oil to scent lip balm. Please do not use a regular fragrance oil because they are not safe to put into lip balms as they are not what is considered edible. Some essential oils can also be used in lip balms, but please read the description from the seller because if it's safe to use in lip balm it will state so. Some essential oils are not safe for this application.
I have been making lip balm for quite some time, and I have found that one tool that is almost essential is a lip balm filling tray. I have been making them without it for some time and never again!

I purchased mine from The Sage but there are other companies that sell them as well.
https://www.thesage.com/catalog/products/Lip-Balm-Filling-Tray.html
They come in different styles, shapes and sizes, so get the right one for the tubes that you have purchased.
But fear not you do NOT have to fill 50 tubes at the same time to use it effectively and I will show you how.
Convert your recipe to actual weights and I suggest writing it out or printing it out on a recipe sheet.
An example of what I do can be found on this link, which is actually for soap recipes but it can be modified for this application as well.
http://soapsnlotions2010.blogspot.com/2013/01/date-your-soaps-recipe-sheets.html
If you want to fill 12 tubes instead of 50 I set my recipe for 50 grams for my recipe.
To prepare your try you want to use a roll of electrical tape to cover off the parts that you don't want to fill. The reason why I use electrical tape is that it peels off easily without leaving a sticky residue and seals off the area needed.

As you can see in the above photo I have taped off three different areas.
Section #1 are the 12 holes for my tubes that I plan on filling with my recipe.
Section #1 is the one extra hole that I have ready in case I need it. If there is a little left over lip balm I put it into that tube rather than waste it. I do not label that tube as of yet. But later once it's been filled I use my regular label, but give it the name of Mystery Flavors as there are several flavors poured into this tube which will eventually go to one of my kids to use or I will use it myself. As the tube is used you get to experience different flavors. Which can be kind of fun as well. But I feel it's better than wasting it.
Section #3 is the area of the tray that is not needed at this time. I did place an X in the electrical tape just for this tutorial. You don't need to waste your electrical tape when making your own lip balm.
I like to label my lip balms first, but you don't need to do that. I like to do it first so when I'm done, the lip balms are done.

Take the caps off your lip balm tubes and place them into the tray. As you can see the 12 tubes that I plan on filling as well as the one lone tube that I plan on filling with any excess balm. The three tubes that are seen off to the left are put there so when the tray is turned up side right it can balance correctly and won't topple to the side.
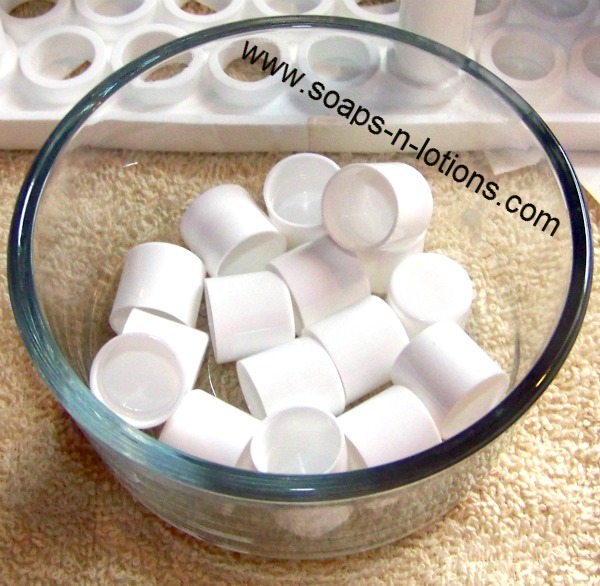
Don't forget to place your caps into a bowl or other container so you don't lose them and will have them later when you need them!
Weigh out your ingredients carefully on a digital scale. Leave out the flavor oil and sweetener until after you melt the oils and wax. I prefer to weigh in grams because I feel it's more accurate. There are 28 grams to the ounce.
I like to use a pyrex 1 cup measuring cup because it's the right size and has a handle and a pour spout.

I like a use a really small spatula that I purchased I think in Wal-Mart, although I do have another that is similar but a more traditional shape that I found in my local hardware store that works very well. Only use a spatula for this application that is used just for this purpose or other food items. You don't want to use one that has been in contact with fragrance oil that is not edible.

I like to melt my beeswax and other oils in the microwave, but it can be done over a double boiler as well. Heat in short bursts and when it gets hot, stir the mixture. You don't want to melt the entire mixture until it's all melted as there is residual heat that can be used to melt the last of the ingredients. So stir well.
Once the oils and butters have melted and have cooled a tad, but not started to harden up add your flavor oil and sweetener if you want to use it. Because these amounts are small I highly recommend using a another type of scale that is made just for weighing small amounts. You want a scale that weighs 0.01 grams. I happen to use a reloading scale, but if you use that type of scale make sure you set it to grams and not grains! A jewelers scale can also be used.
This is the scale that I happen to use but it's not a cheap one. They can be purchased for about $20 and is a wonderful investment. I removed the tray on top that someone who was reloading would use and in it's place I use a white disposable SOLO cup. It's a 3 ounce cup and are inexpensive at walmart. I also found these cups can be used with fragrance oils, flavor oils and essential oils for a short period of time. I pour into the cup just before I need the oil then throw the cup away right away. If you leave it in the cup too long it will melt the cup and make a mess. But unlike some cups that won't tolerate these ingredients for even a short time these will and are inexpensive.

Once your oils and wax have melted weigh out your flavor oil and sweetener and add it to your mixture and stir.

To measure out your flavor oil or essential oil I highly suggest the use of a pipette. I do wash and reuse them, but make sure you keep your pipette's separate from the ones you use for your regular fragrance oils. Let them air dry between uses and before using them again. I wash them right after using them in water with a drop of dish soap. Rinsed multiple times with clean clear water.

Pour your lip balm over the top of your prepared surface. Don't worry about any over spill. After it has cooled scrape the excess off with a knife or your spatula. Reheat and pour if necessary.


Fill that one extra tube as needed. When it's full replace with another tube. This way you can use every last drop rather than waste any of it. How cool is that!
Let them fully cool........

Remove the tubes from the tray and replace their caps that you set aside. Let them sit for a few hours before using to allow them to fully harden. While you can use them right away they will be better if you let them fully harden. You can cut off that bit of extra at the top if you want, or you can leave it in place so the user won't have to turn it up to use.
Here are two cleaning tips!
When cleaning your lip balm filling tray a paper towel to wipe it down and use q-tips to get inside the holes works like a dream! When cleaning your container that you melt your lip balm in cleans up much easier if it's warm before you wipe it out with a paper towel. If needed reheat in the microwave to melt and soften any remaining wax before washing with hot water and dish soap. If you are going to sell your lip balm you do need to know that you are required by law to have it labeled according to FDA regulations. Take the time to read up the regulations that the FDA has put into place for the labeling of cosmetics. Lip balm is considered a cosmetic by definition. Even if you plan on giving them as a gift or for personal use I highly suggest having them properly labeled.
Stay tuned for my next topic on how to save time when making multiple batches of lip balms in different flavors!
No comments:
Post a Comment